By the Gandermountains.us team ·
As an Amazon Associate, we earn from qualifying purchases. See our Affiliate Disclosure for how links on this site work.
Gandermountains.us is an independent gear guide. We are not affiliated with Gander Mountain, Gander Outdoors, or Camping World, and Gander Mountain is a trademark of its owner. Nothing on this page is sold by or endorsed by the brand. When we name a product below, it is a current alternative from a real manufacturer — not Gander Mountain gear, and we will not pretend otherwise.
Cold weather hiking layers are the difference between a great winter day on the trail and a miserable, shivering retreat to the car. When temperatures drop, your body still generates a lot of heat while you climb, then cools fast the moment you stop — and the wrong clothing turns that swing into sweat, chills and, in the worst case, hypothermia. The fix is not one thick jacket. It is a system of layers that work together, each with a different job.
This guide explains the classic 3-layer system in plain language: a moisture-wicking base layer, an insulating mid-layer and a weatherproof shell. You will learn how merino wool compares with synthetic base layers, when down insulation beats synthetic (and when it does not), how to judge a shell jacket, and how to look after your hands, feet and head. Everything here is research-based advice for choosing and using gear — including honest guidance on budget versus premium options, since good layering does not have to cost a fortune.
At a glance: cold weather hiking layers
| Layer | Job | Best choices |
|---|---|---|
| Base layer | Wick sweat off your skin | Merino wool or synthetic; never cotton |
| Mid-layer (insulation) | Trap warm air | Down for dry cold; synthetic for wet conditions |
| Shell layer | Block wind, rain and snow | Waterproof-breathable jacket with a hood |
| Hands | Stay warm and usable | Insulated gloves plus thin liner gloves |
| Feet | Warm and dry all day | Insulated boots + merino wool socks |
| Head and neck | Cut heat loss | Warm hat, balaclava or neck gaiter |
| Spare layer | Backup if you get wet or cold | Dry base layer and extra insulation, packed |
How the 3-Layer System Works for Cold Weather Hiking
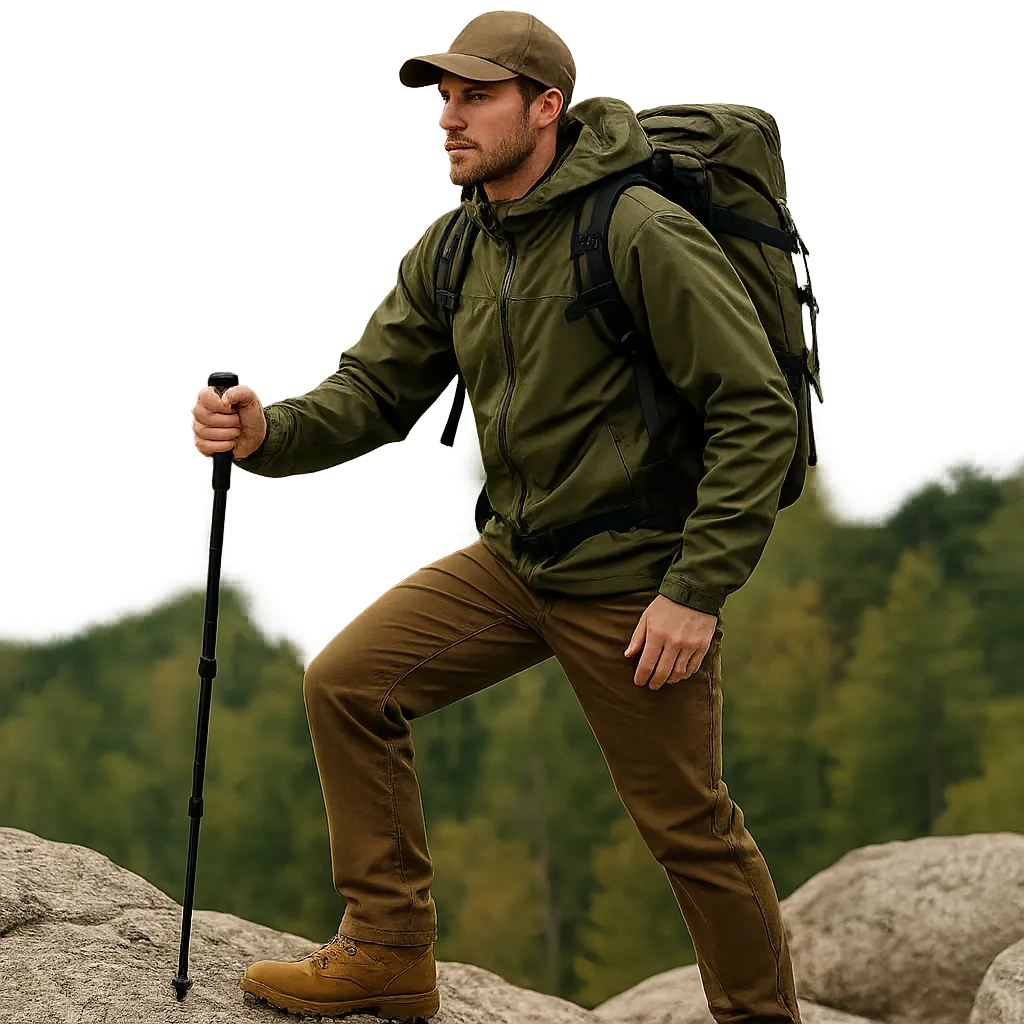
The 3-layer system is the standard approach to cold weather hiking layers because it gives you control. Instead of one heavy coat that is either too warm or too cold, you combine three thinner layers, each doing one job well. The base layer sits against your skin and moves sweat away. The mid-layer traps warm air around your body. The shell keeps wind, rain and snow out. When conditions change, you add or remove a layer instead of suffering through it.
This flexibility matters because hiking in the cold is stop-start by nature. You heat up fast on a steep climb, then cool down quickly at a viewpoint or lunch stop. A single heavy jacket forces you to choose between sweating on the way up and freezing when you stop. With layers, you unzip the shell, shed the insulation, or pull a layer back on in under a minute. Browse our hiking gear guides for more on choosing the right kit for cold conditions, and see our hiking gear guide for a broader look at what to carry.
The system also works across a wide temperature range. The same three layers that keep you comfortable at 30°F can be adjusted for a day that starts at 10°F and warms to 40°F, just by changing which mid-layer you wear and how you vent. That is why experienced winter hikers talk about layering as a skill, not a shopping list: the gear matters, but knowing when to add, remove and vent matters more.
Insulation: Down vs Synthetic for Cold Weather Hiking Layers
Insulation is the warm heart of your layering system. Its job is simple: trap still air next to your body so your heat stays put. The two main options are down and synthetic insulation, and each has real strengths. Down — the soft feathers from ducks or geese — offers the best warmth for its weight, packs down small, and lasts for years if cared for. A good down jacket feels almost weightless for the warmth it gives, which is why it is the first choice for dry, very cold days.
Synthetic insulation, usually made from polyester fibres, is slightly heavier and bulkier for the same warmth, but it keeps insulating when it gets wet — something down cannot do. If you hike in damp snow, freezing rain or sweaty climbs where moisture is hard to avoid, synthetic is the safer choice. It also dries faster and costs less, which makes it a smart pick for beginners building their first cold weather kit. For most winter day hikes in mixed conditions, a synthetic insulated jacket is the more forgiving option.
Many hikers end up owning both: a down jacket for cold, dry, high-output-free days and a synthetic layer for wet or unpredictable weather. If you can only buy one, choose based on where you hike most. Dry mountain air and sub-freezing temperatures favour down; wet snow, rain and humid conditions favour synthetic. Either way, fit matters — insulation works by trapping air, so a jacket that is too tight compresses the fill and loses warmth, while one that is far too loose lets cold air in.
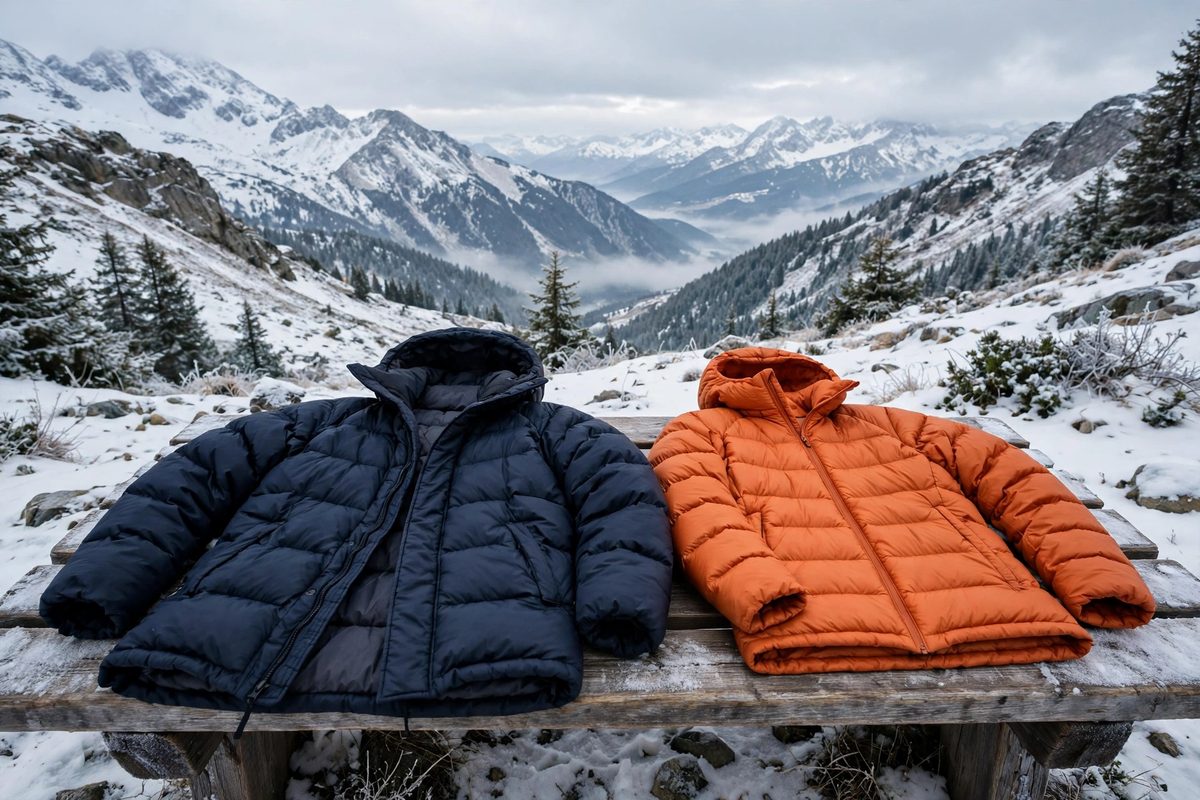
Insulated winter hiking jacket
A warm insulated jacket is the core of any cold weather layering system — look for down for dry cold or synthetic for wet conditions.
Check price on Amazon ↗The Shell Layer: Waterproof and Breathable Protection
Your shell is the outer layer of the system, and its job is to keep weather out while letting sweat escape. A good waterproof-breathable shell blocks wind, rain and snow, but its membrane or coating also allows water vapour from sweat to pass through. That balance is what stops you getting soaked from the inside out. When comparing shells, look at the waterproof rating (often given in millimetres) and the breathability rating — higher numbers generally mean better protection and venting, though ratings are not perfectly comparable between brands.
Fit and features matter as much as the fabric. A shell should be roomy enough to fit over your insulation without restricting movement, with a hood that adjusts around your head and moves with you. Pit zips (underarm vents) are one of the most useful features for hiking, because they let you dump heat fast on a climb without taking the jacket off. A two-way front zip, adjustable cuffs and a hem that seals out drafts are all worth having on a winter shell.
You do not always need the shell on. On a calm, dry, cold day, a windproof softshell or even just your insulation layer may be enough, and wearing a waterproof shell when you do not need it can trap sweat. The shell earns its place when wind picks up, snow starts falling, or you stop moving and need a wind block. Keep it in the top of your pack so you can put it on quickly — our camping gear guide covers packing strategies that apply just as well to winter day hikes.
Cold Weather Hiking Layers for Hands, Head and Neck
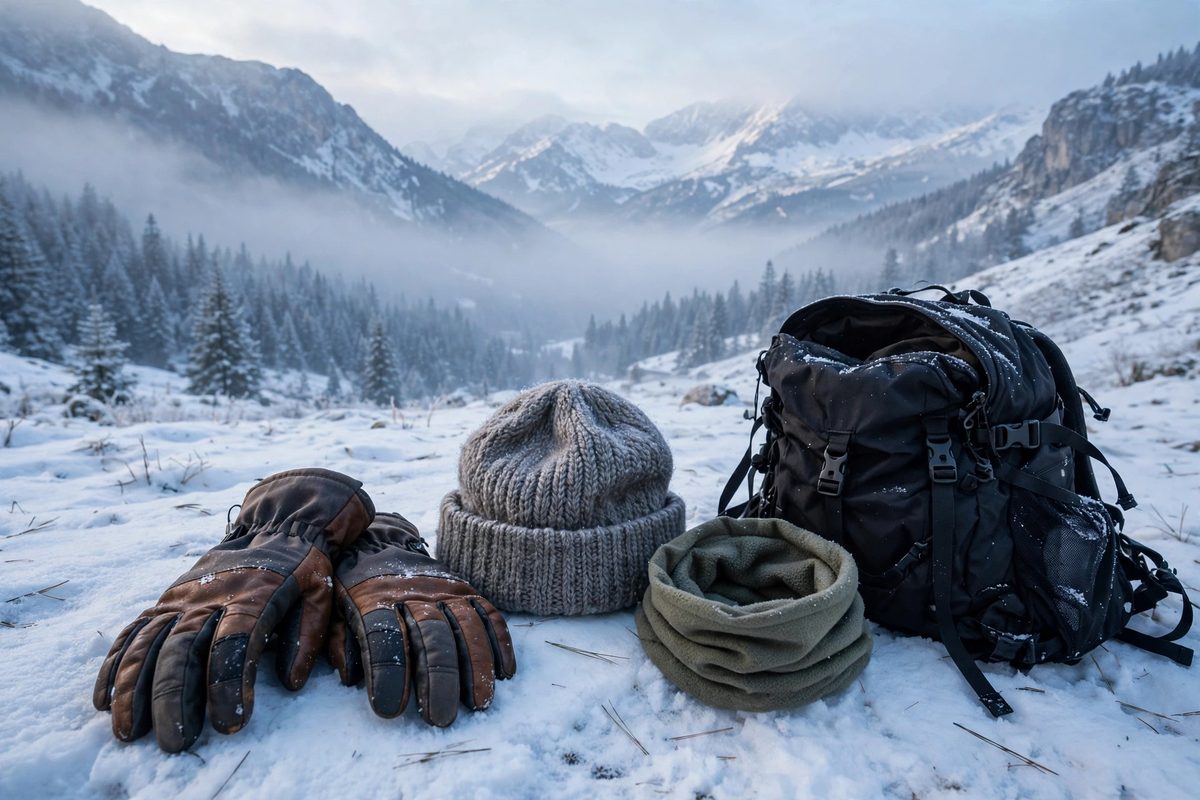
Your extremities lose heat fast and are the first to feel the cold, so they deserve as much thought as your torso. For hands, the winning combination is a thin liner glove under an insulated glove or mitt. Liners let you handle zips, maps and phones without bare skin, while the outer glove or mitt provides the real warmth — mittens are warmer than gloves because your fingers share heat, though gloves give better dexterity. Carry a spare pair of liners: wet gloves are one of the fastest routes to cold, numb hands.
Your head and neck are just as important. A warm hat that covers your ears, or a balaclava on very cold or windy days, makes a noticeable difference to overall comfort. A neck gaiter is one of the most versatile pieces of winter kit — wear it around your neck, pull it up over your face in wind, or use it as a light head covering. It weighs almost nothing and solves a surprising number of cold-weather problems.
The key principle is the same as for your core: layers and adjustability. A heavy hat plus a balaclava plus a hooded shell can quickly overheat you on a climb, so be ready to swap a thick hat for a thin one, or drop the gaiter when you warm up. Cold weather hiking layers work best when every part of the system can be tuned as you move.
Cold Feet, Cold Hiker: Boots and Socks That Work
Cold feet can end a winter hike faster than almost anything else, and the fix starts with socks, not boots. A good winter hiking sock is made from merino wool or a wool-synthetic blend: wool insulates even when damp, manages moisture far better than cotton, and resists odour on long days. Avoid cotton socks entirely — they hold sweat, lose all insulation when wet, and are a classic cause of blisters and cold feet. Carry a spare pair of dry socks in your pack; changing into them at lunch can transform the second half of a hike.
Boots matter too. Insulated, waterproof hiking boots with a grippy sole are the right choice for snow and slush, while lighter three-season boots may be fine on cold, dry trails if paired with warm socks and gaiters. Whatever boots you choose, make sure they fit with your winter socks on — boots that are too tight restrict blood flow and make feet colder, not warmer. Gaiters are a cheap, effective addition: they keep snow out of your boots and add a layer of wind protection around your lower legs.
Foot care on the trail is part of layering. If your feet sweat heavily, a thin liner sock under a wool sock can help manage moisture. Stop and adjust early if your feet start to feel cold or numb — loosen laces slightly to improve circulation, add a gaiter, or change socks. Small fixes early beat a painful, cold-footed descent later. See our hiking gear pages for more on choosing boots for winter trails.
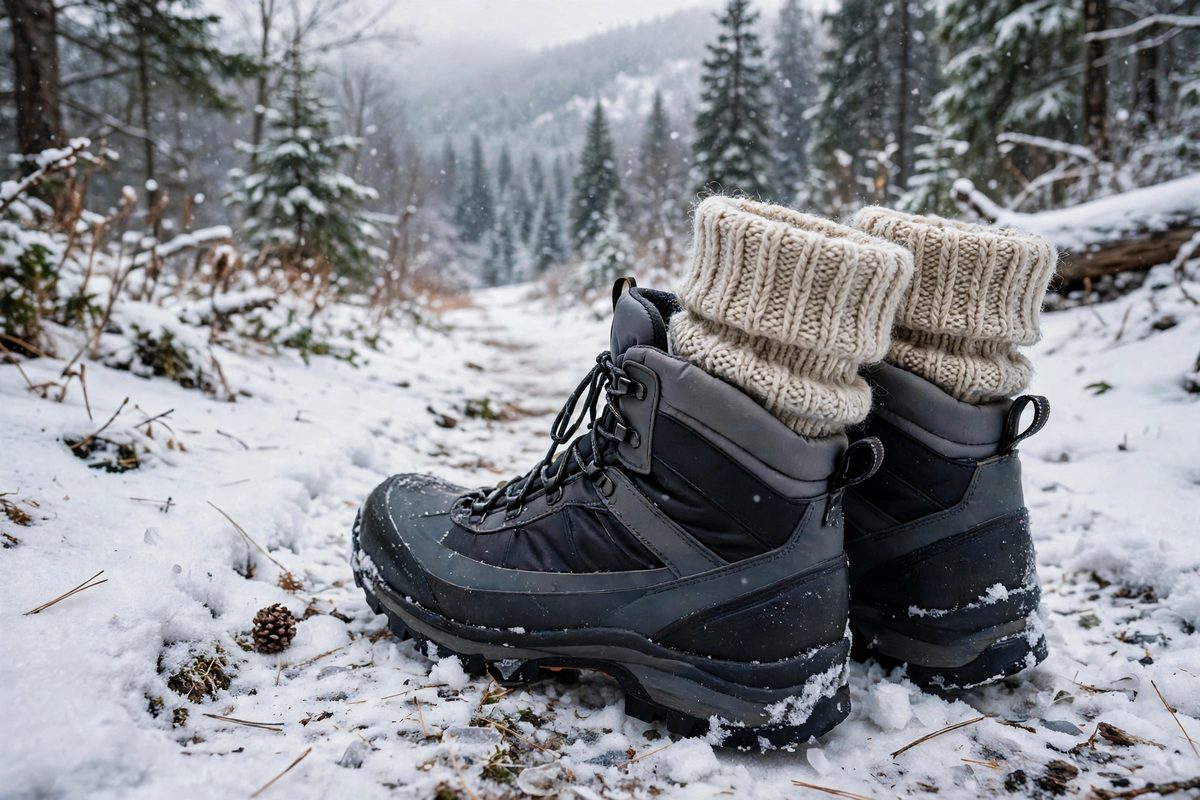
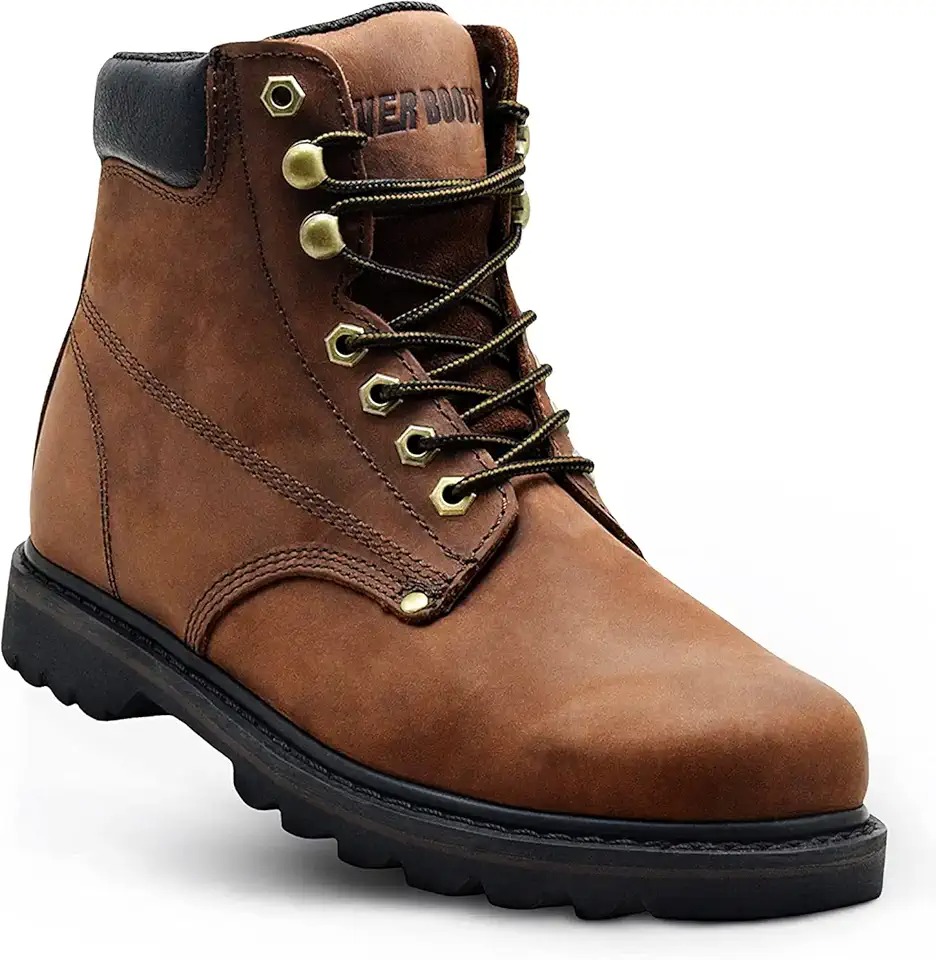
Insulated waterproof hiking boots
Insulated, waterproof boots with a grippy sole are the foundation of warm feet on snowy winter trails.
Check price on Amazon ↗Layering Mistakes That Leave You Cold
The most dangerous layering mistake is also the most common: wearing cotton. Cotton absorbs sweat, holds it against your skin, and loses nearly all of its insulation when wet. The saying "cotton kills" exists for a reason — in cold, wet conditions, a cotton base layer can chill you fast. Check every layer, including underwear and socks: if it is cotton, swap it for merino wool or a synthetic fabric before you head out. This one change alone prevents more cold-weather misery than any expensive jacket.
The second big mistake is overdressing at the trailhead. It is tempting to pile on layers when you step out of a warm car into cold air, but within ten minutes of climbing you will be sweating — and sweat is the enemy of warmth. The rule experienced hikers use is to start slightly cold: dress so you feel a little chilly for the first few minutes, knowing you will warm up fast once moving. It feels counterintuitive, but it keeps your base layer dry, and a dry base layer is what keeps you warm all day.
Other common mistakes include wearing layers that are too tight (compressed insulation cannot trap air), forgetting to vent before you sweat, and leaving the shell on too long in calm weather. Tight cuffs, waistbands and boots also restrict circulation and make hands and feet colder. And never ignore early warning signs: if you are shivering, your hands are numb, or you feel oddly warm and confused in the cold, stop, add layers, eat something, and get moving or get to shelter. Cold weather hiking layers only work if you use them actively.
Adjusting Your Cold Weather Hiking Layers on the Move
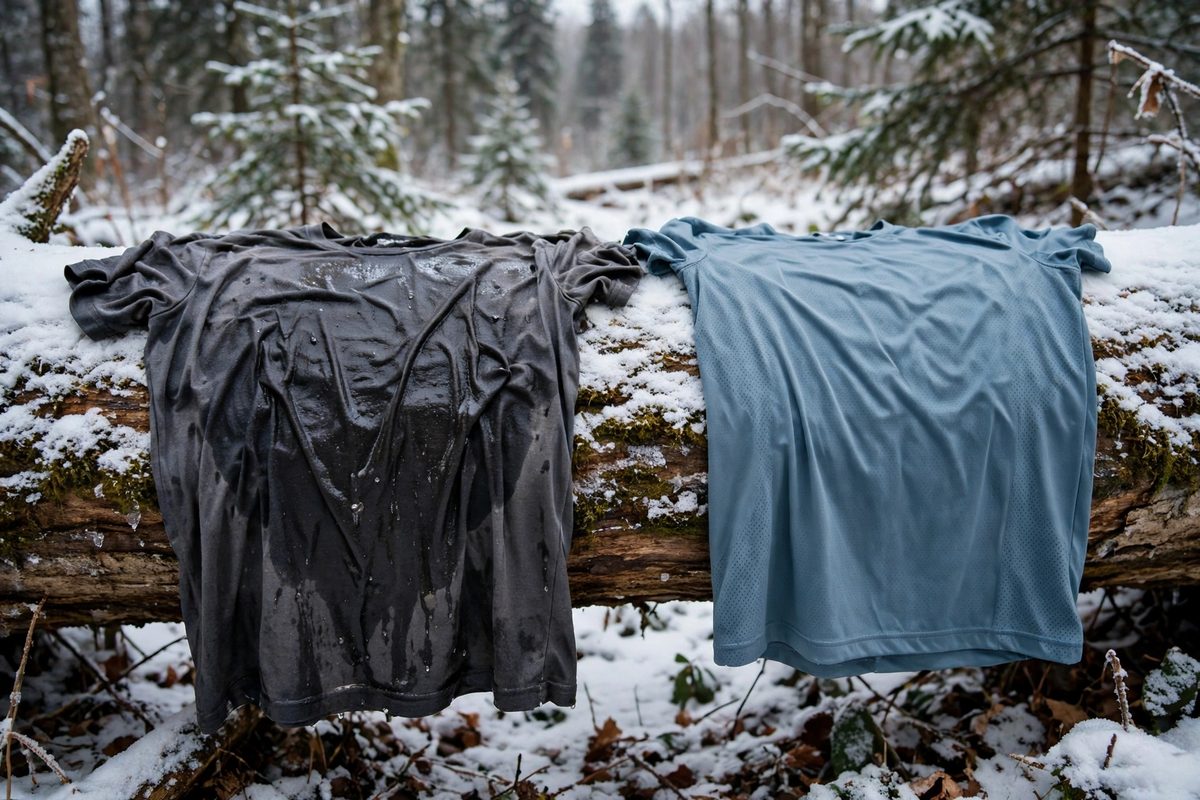
Good layering is a moving skill, not a one-time decision at the trailhead. The golden rule is to adjust before you get too hot or too cold. As soon as you feel yourself starting to sweat on a climb, stop for a minute: open the pit zips, unzip the shell, or take off the insulation layer. It takes sixty seconds and saves you from a soaked base layer that will chill you for the rest of the day. The same applies in reverse — when you stop for a break, put the insulation layer back on immediately, before you cool down, not after.
Plan your stops around this. At a viewpoint or lunch spot, your body cools quickly once you stop generating heat, so the first thing to do is add a layer, then eat and drink. Food is fuel for your internal furnace: warm drinks and calorie-dense snacks genuinely help you stay warm. Keeping a warm drink in an insulated bottle is one of the simplest comfort upgrades for a winter hike.
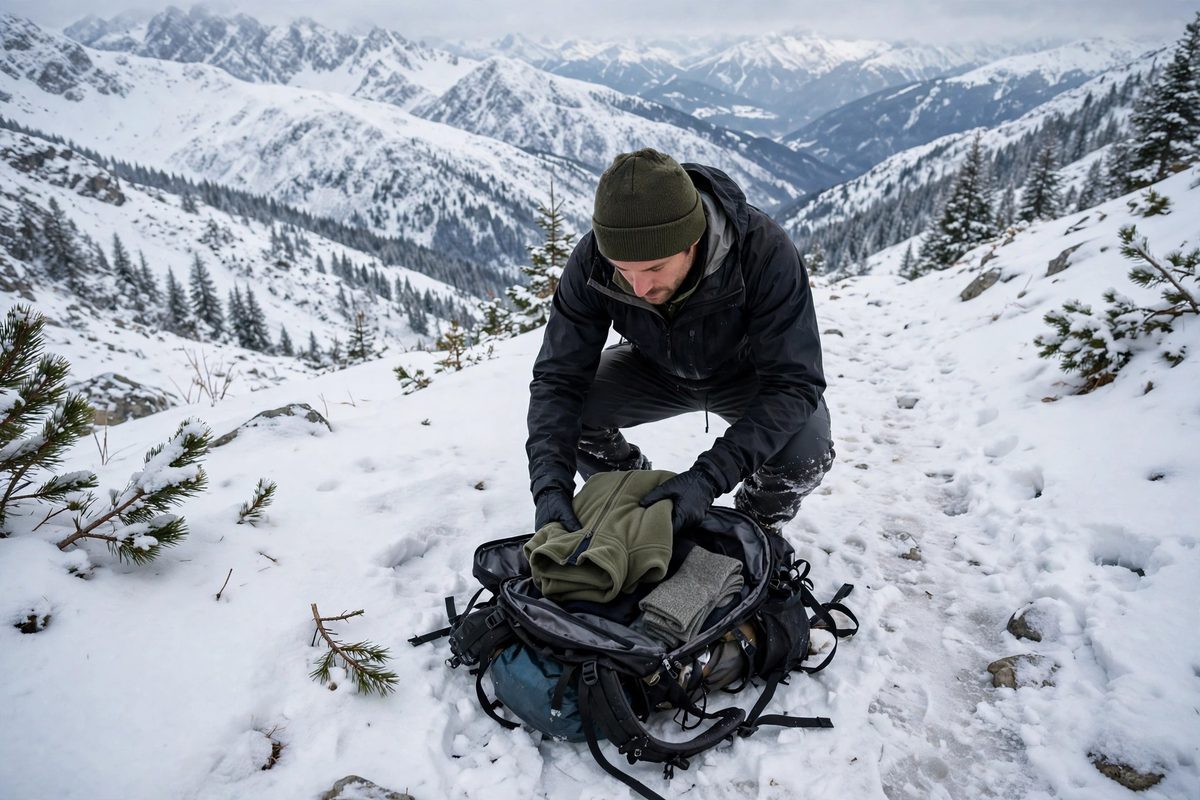
A practical tip is to organise your pack so layers are easy to reach: shell and insulation near the top, spare hat and gloves in an outside pocket. If adjusting your layers means emptying your whole pack in the snow, you will not do it — and that is when the system fails. Make it easy on yourself and you will adjust often, which is exactly how cold weather hiking layers are meant to be used.
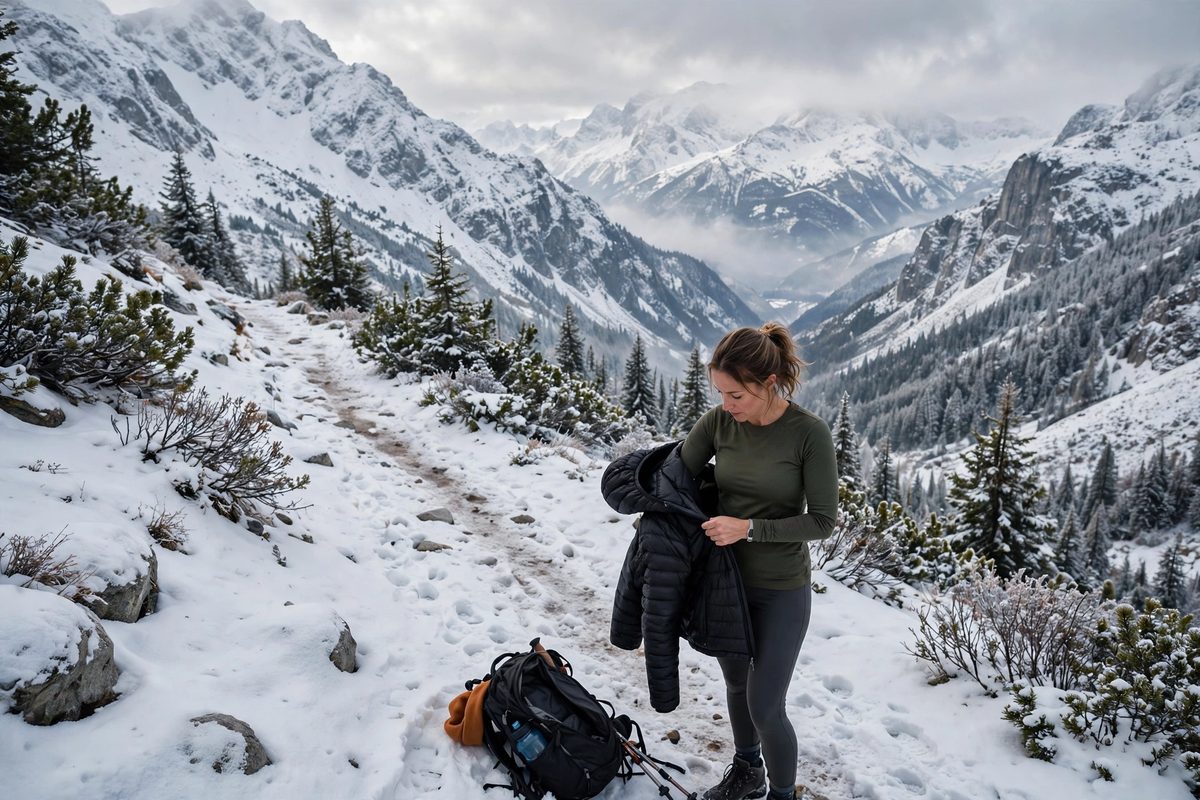
Pack a Spare Layer: The Cheap Insurance Policy
Every winter hiker should carry at least one spare layer, and the most important one is a dry base layer. If you sweat through your base layer on a long climb, or get caught in wet snow, changing into a dry top at the halfway point can feel like starting the hike over — warm, dry and comfortable. A spare base layer weighs very little and takes up almost no pack space, yet it is the single most useful backup item you can carry.
Beyond the base layer, a spare insulation layer or an extra pair of socks and gloves is worth the weight on longer or more remote hikes. Conditions change, gear gets wet, and having a dry option in your pack turns a potential retreat into a minor inconvenience. Pack spares in a waterproof stuff sack or a sealed plastic bag so they stay dry even if your pack gets wet — a spare layer that is soaked through is no spare at all.
Think of spare layers as insurance you hope not to use. On a short, easy trail close to the car, a single dry base layer may be enough. On a full-day hike in remote terrain, add spare gloves, socks and an extra insulation layer. The weight penalty is small, and the safety margin is large. For more on what to pack for a full day outdoors, see our camping gear guide and our apparel pages.
Merino vs Synthetic: Base-Layer Fabrics Compared
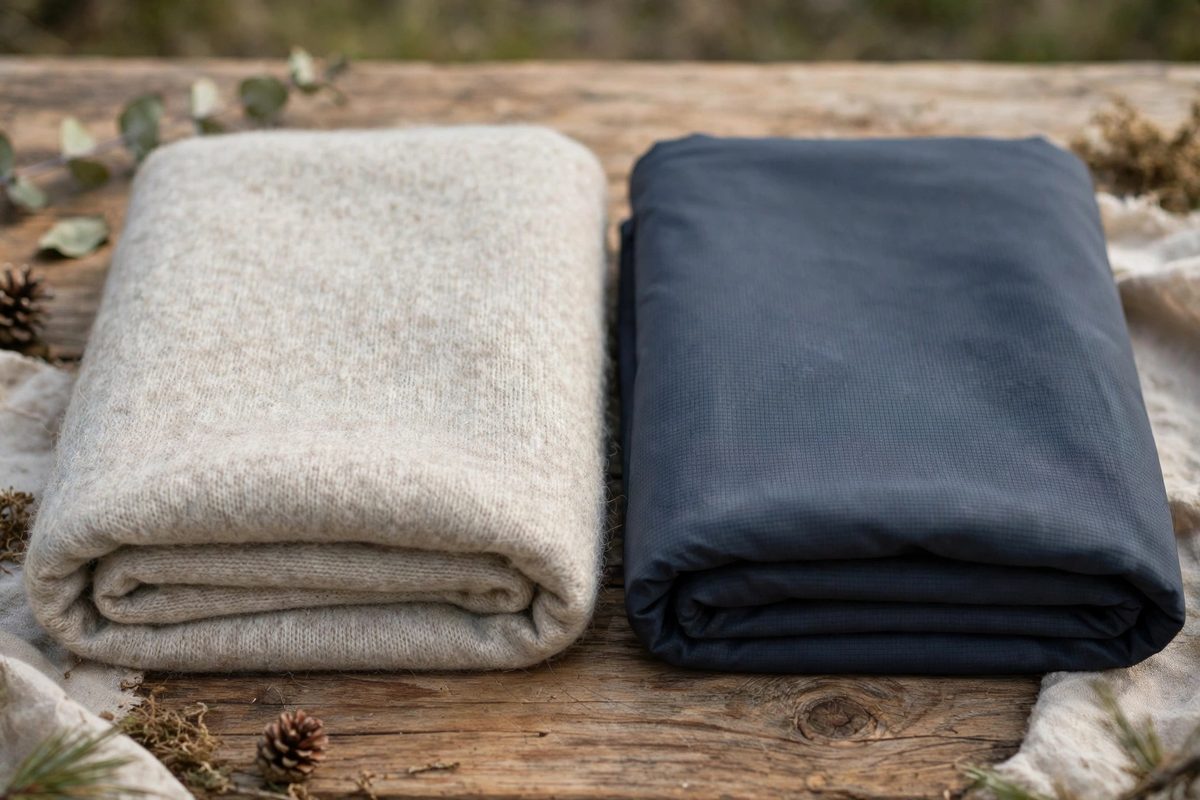
The base layer is the foundation of your cold weather hiking layers, so choosing the right fabric matters. Merino wool is the classic choice: it is naturally warm, manages moisture well, resists odour for days, and feels comfortable against the skin. Its main downsides are price and durability — merino is more expensive than synthetic and can wear out faster, especially in high-friction areas. For multi-day trips or anyone sensitive to odour, merino is hard to beat.
Synthetic base layers, usually made from polyester or a polyester blend, are cheaper, dry faster, and stand up better to hard use. They wick moisture aggressively, which is great on high-output climbs, though they can feel clammy when you stop and tend to hold odour after a day or two. For day hikes, budget-conscious hikers, or anyone who sweats heavily, synthetic is an excellent choice. Many modern synthetics also add silver or other treatments to reduce odour.
There is no single right answer — it depends on your budget, how much you sweat, and how long your trips are. Some hikers use merino in winter for its warmth and odour resistance, and synthetic in summer for its fast drying. Others mix: a merino top with synthetic bottoms, or vice versa. What matters most is that the fabric wicks moisture and is not cotton. Fit should be close to the skin without being restrictive, so sweat moves out to the next layer instead of pooling. For more honest buying guidance, read our hiking gear guide and the affiliate disclosure — some links on this site earn us a small commission at no extra cost to you.
Merino wool base layer
A merino wool base layer wicks sweat, stays warm when damp and resists odour — a solid foundation for cold weather hiking layers.
Check price on Amazon ↗Budget vs Premium: Building Your Cold Weather Hiking Layers
You do not need to spend a fortune to layer well. The 3-layer system works at every price point, and the smartest way to build it is to spend where it matters most and save where it does not. Prioritise your base layer and your shell: a good merino or synthetic base layer keeps you dry, and a decent waterproof-breathable shell keeps weather out. Mid-layer insulation can often be a fleece you already own — a simple fleece jacket is a surprisingly effective insulator and costs far less than a technical down jacket.
Budget options have improved a lot in recent years. Store-brand synthetics, fleece mid-layers and basic waterproof shells now perform well enough for most winter day hikes. Premium gear earns its price in weight savings, durability and extreme conditions — a high-end down jacket is lighter and packs smaller, and a top-tier shell breathes better on steep climbs — but for a beginner hiking moderate winter trails, mid-range gear is usually the sweet spot. Buy the best you can afford for the items you use most, and upgrade over time.
A practical way to build your system is one layer at a time: start with a good base layer and a warm hat and gloves, add a fleece or synthetic insulated jacket, then a shell when your budget allows. Check what you already own before buying — many people already have a suitable fleece or softshell in a cupboard. Browse the blog for more gear guides, and remember that the best layering system is the one you actually use: comfortable, easy to adjust, and matched to the conditions you hike in.
Frequently asked questions
How many layers do I need for cold weather hiking?
Three layers are the standard: a moisture-wicking base layer, an insulating mid-layer, and a waterproof-breathable shell. You can adjust the warmth of the system by changing the thickness of the mid-layer or adding a fleece, and by venting or removing layers as you heat up or cool down.
What is the best base layer for cold weather hiking?
Merino wool and synthetic fabrics are both good choices. Merino wool is warm, manages moisture well and resists odour, making it ideal for multi-day trips. Synthetic base layers are cheaper, dry faster and are more durable, which suits day hikes and heavy sweating. Avoid cotton in every layer — it holds sweat and loses insulation when wet.
Is down or synthetic insulation better for winter hiking?
Down offers the best warmth for its weight and packs down small, making it ideal for cold, dry conditions. Synthetic insulation keeps working when wet, dries faster and costs less, so it is the safer choice for damp snow, freezing rain or sweaty climbs. If you hike in mixed conditions and can only buy one jacket, synthetic is usually the more forgiving option.
Do I need a waterproof shell for winter hiking?
Yes, if there is any chance of snow, wind or rain. A waterproof-breathable shell blocks wind and precipitation while letting sweat escape, which keeps your insulation dry and working. On calm, dry, cold days you may not need it on, but it should always be in your pack — weather in the mountains changes fast.
How do I stop my feet getting cold when hiking in winter?
Wear merino wool socks (never cotton), insulated waterproof boots that fit with your winter socks on, and gaiters to keep snow out. Carry a spare pair of dry socks and change into them at lunch. If your feet start feeling cold, loosen your laces slightly to improve circulation and stop to adjust before numbness sets in.
What is the biggest layering mistake in cold weather?
Wearing cotton is the most dangerous mistake, because cotton absorbs sweat, holds it against your skin and loses its insulation when wet. Overdressing at the trailhead is the second most common error — you sweat on the climb, your base layer gets soaked, and you chill when you stop. Start slightly cold and adjust layers as you move.
Should I pack a spare layer on a winter day hike?
Yes — at minimum, a dry spare base layer, packed in a waterproof bag so it stays dry. Changing into a dry top halfway through a hike can transform your comfort. On longer or more remote hikes, also carry spare gloves, socks and an extra insulation layer. The weight is small and the safety margin is large.
Can I build a good layering system on a budget?
Absolutely. Start with a good synthetic or merino base layer and warm hat and gloves, add a fleece or budget synthetic insulated jacket as your mid-layer, and finish with a mid-range waterproof shell. Many people already own a suitable fleece. Upgrade one piece at a time rather than buying everything premium at once.
That covers the essentials. Browse our hiking gear for the gear we cover, and see the blog for more buying guides as we add them.